Solution on how to restore original software on Nokia 6 TA-1000 found
 If you are a Nokia 6 TA-1000 owner, this News will put a big smile on your face. We discussed earlier, how some export Nokia 6 TA-1000 units, that were sold via Third parties and not official Nokia channels, didn’t have the original software, but a custom ROM. Now, the XDA forums member Quixote78 made a tutorial how to restore original software on the TA-1000. Before going further, we have a disclaimer:
NokiaMob is not responsible for anything that could happen to your device if you try to do below described procedure. You are doing it on your own risk.
I tested the method on my Nokia 6 TA-1000, and it worked. It was fairly simple and didn’t take that much time. All you need to do is described in steps so it is easy to follow. A general advice would be to back your data up. Also, after doing a hard reset, the Play Store is gone, but you can install it from the web.
Taken from XDA forums
Sorry for keep you waiting. Here are instructions to restore original software on TA-1000.
1. Download original software for TA-1000 (build 00CN_3_31A_SP) in nb0 format
https://yadi.sk/d/fN5Oinvt3MwufR
2. Download OST LA v6.0.4
https://yadi.sk/d/hkDVImee3NAZ7a
3. Download patch
https://yadi.sk/d/Tm2MvTJs3NAZy2
4. Unpack OST LA with 7zip or WinRar and install on your PC
5. Unpack patch (password 123)
6. Replace an exe file OnlineUpdateTool with an exe file OnlineUpdateTool exracted from the patch and delete OnlineUpdateTool.exe.config in a folder C:\Program Files (x86)\OST LA (see pic.1 and pic.2)
7. Unpack software with7zipWinRar
8. Start patched OST LA from the above mentioned folder by double left-click on exe file incicated on pic2.
9. If everything is alright the program will run without requesting login and password to hook up with a server.
10. Select the original software.
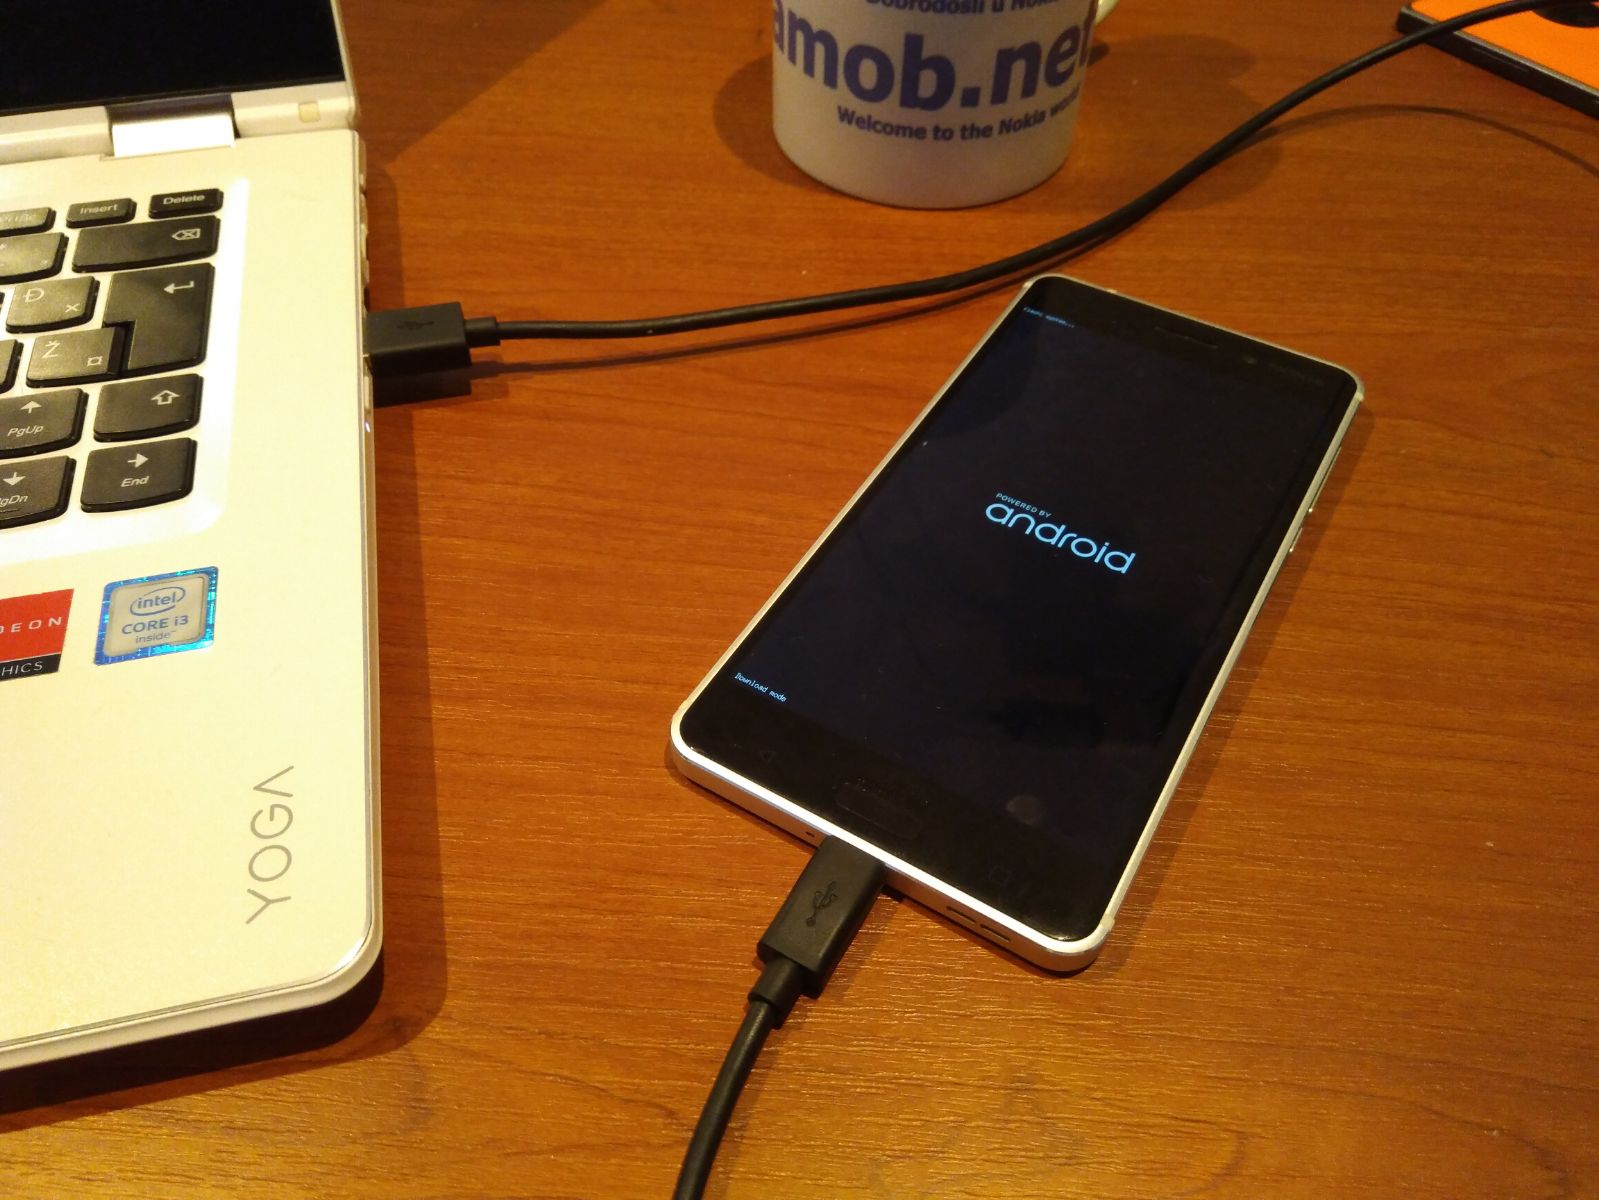
11. Enter your Nokia 6 into Download mode connected with USB cable to your PC.
12. After your device enter into Download mode, the button Edit Phone Information will be available. Push that button and wait for a error (something like failed to reboot to FTM mode) being appeared. Don’t be so tragical about it. Press OK and see the button Next should be activated..
13. After button Next become active, press on it and and have an eye on the flashing process or have a cup of tea not to kill time.
14. The flashing process takes approx. 358s
15. Your device will reboot and you may congratulate oneself.NOTE! 1). After your device having been flashed you’ll get the software TA-1000, build 00CN_3_31A_SP and then it’ll get OTA update twice to TA-1000, build 00CN_3_31D, September 1, 2017 security update. 2). After hard reset Google Play and all Gapps will be deleted.
If you have any questions you can ask it in the comment section below, but I am sure you will be better off if you head to XDA forums and ask there, where the author of the tutorial could answer. Also, if you have an XDA account, leave a “Thank you” by clicking the button “Thanks” on the original post.
Update: If, for some reason, this method doesn’t work, or the links are dead and files can be found, a lot simpler way of reverting the OS can be found on XDA forums here.


