
Turn Unboxing Clips into Polished Product Videos (Without Learning to Edit)
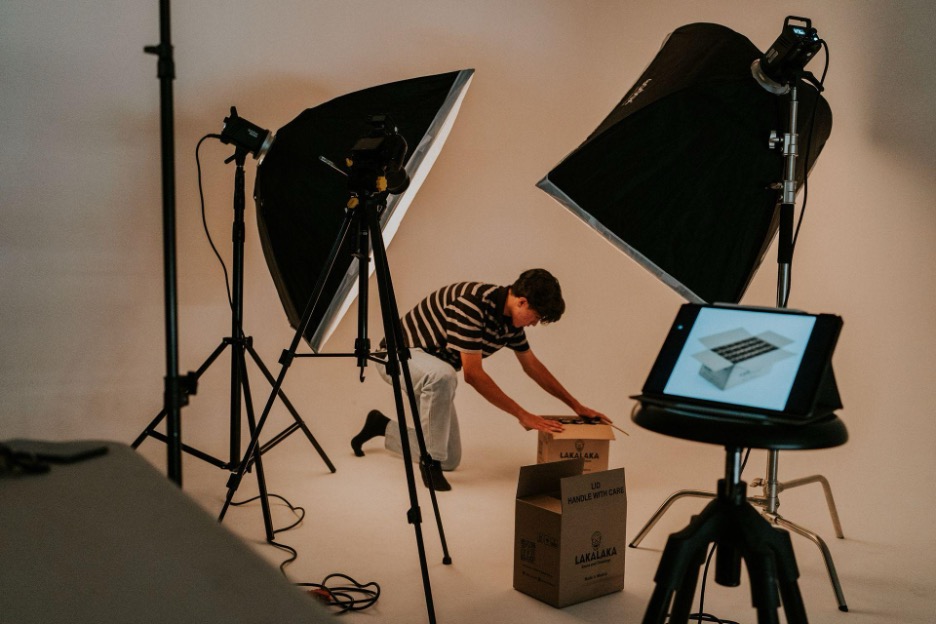
Your Unboxing Has More Potential
Got a great unboxing clip, but it still looks like something you filmed on your phone?
Raw footage usually catches the best moments – it just misses the pacing, the catchy hook, captions, and building the narrative to make a product video pop. Luckily, you can take the fast road to a smart-looking video without learning a video editor for hours.
In this tutorial, we will show you how to leverage a couple of cool unboxing moments and craft a nice, shareable product video without being a video editor.
What’s Missing from a Raw Unboxing Video?
Ever watch an unboxing video and wonder, “Why does theirs look so much better than mine?”
That difference is rare in the phone or the camera itself. It’s in the way the footage is arranged. The most viral product videos are short, edited, and have the ‘good bits’ early in the footage.
Is the video from your phone great? Likely not. RAW footage is simply not ready for post-production.
You also want to think about what you shot. You opened the box, ripped off the plastic, took the product out of the packaging. You then picked up the product while zooming in a little bit.
You don’t need any of these.
A polished video will bring in all the good clips and throw away all the rest, giving you the finished product.
What makes people stop scrolling?
A powerful opening is one. Your video needs to have a good pace as well; otherwise, people will get bored and move on.
Long delays, and jumpy or repetitive footage will achieve the same.
You Don’t Need to Become a Video Editor
So, how do you edit an unboxing video?
Most people probably begin with a phone video editing app. It seems like it is easy enough at first. However, even the simplest of videos take a long time.
- Trim It Down, Add Music, and Captions: You snip out the boring stuff. Throw in a transition or two. You’re done, right? No! While trimming can make your video significantly shorter, it’s not enough on its own.
And then come the captions. You insert your text. Add your song. Change the length. Repeat this for each of your clips.
- Why Full Editing Apps Aren’t Practical: You could learn a full editing app. But do you really want to?
For polishing a few unboxing videos, the time commitment required to learn timelines, effects, and keyframes is just not going to be practical.
A Simple 5 Minute Workflow to Turn Raw Unboxing Clips to Polished Video
- Short is better: Remove every part is not essential to the video’s length being no longer than 30 seconds.
- The first look should be at the product itself: No delay of packaging. Let your audience see the product immediately through a visual.
- Subtitle the video: For those people not hearing the sound, it will still be possible to understand the video through the captions.
- Be genuine: Do not display features or items in the packaging if they weren’t actually part of the shipment that came in the box.
Already Have a Video? Recreate!
Apply a Format That’s Already Proven to Perform
Why start from scratch when you can use a format that already works to recreate viral video ads?
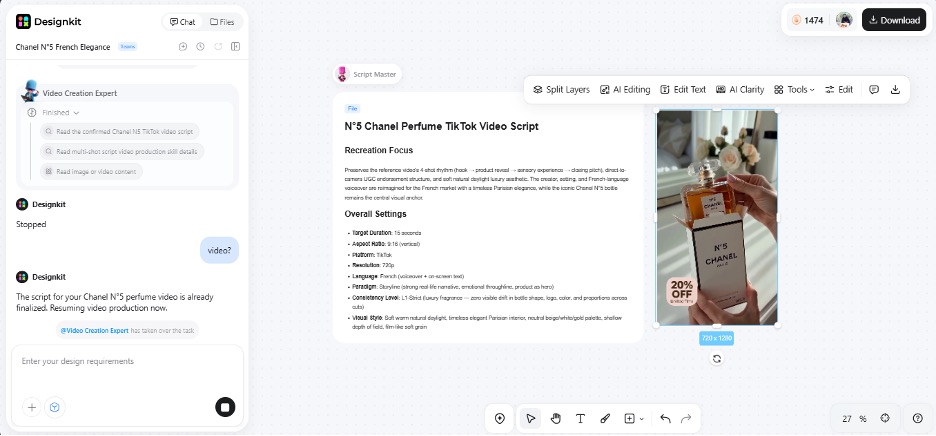
Using Designkit’s viral video recreation feature, upload a reference TikTok or Reel video along with the product images you want to feature in the video.
The AI takes note of the reference video’s hook, rhythm, camera shots, editing, and visual arrangement, and then utilizes these components to generate a new video for the product.
Optionally, you could include a prompt with information on product, style, scene, model, and aspect ratio. What you eventually get is a 9:16 vertically oriented, ready-to-deploy UGC-style video no need for filming or manual editing!
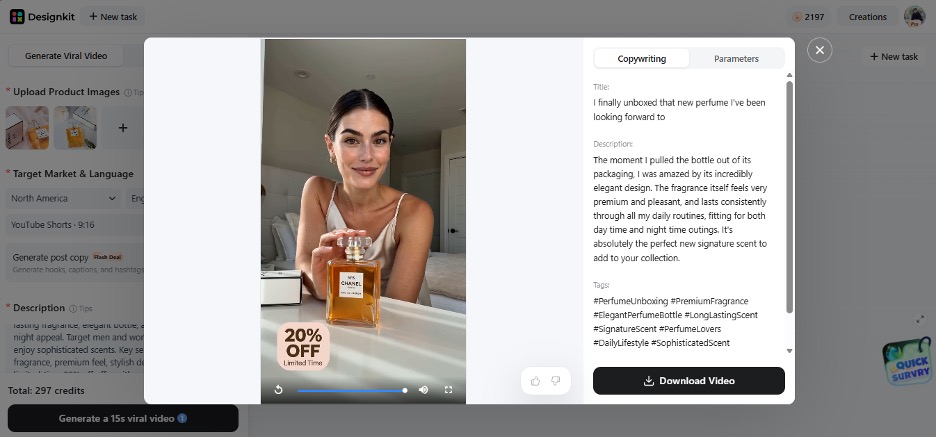
Don’t Have a Video? Turn a Raw Unboxing Clip into a Polished Product Video
Ready to turn those random clips into something you’d actually want to post?
You don’t have to master any complex software for editing. Select the strongest bits, get your structure generated by artificial intelligence, and in a ready-to-use format.
Step 1: Pull Out the 3–4 Moments That Actually Matter (Box, Reveal, First Look, Detail Shot)
Let’s begin with the good things.
Keep your box shot, product reveal, first look, and a few detail shots. Remove all of your dead footage, repeated clips, and unnecessary clips. You really just need 3 to 5 great moments.
Step 2: Run the Clip Through a Tool That Structures It into a Proper Video Ad
This is an area where the AI Video Ad Maker by Designkit can be of assistance.
First, you submit your product pictures and afterward, you pick the style to go along such as UGC, product demo, etc. Designkit will prepare the hook, flow, and captions along with the structure and create video ads for you.
Once everything looks good and the final touch is added, you can export the video. You do all this within one place and it’s so simple that anyone can handle it, even those who aren’t familiar with editing tools.
Step 3: Export for Both the Article Embed and Social Repost
Check the aspect ratio prior to exporting. Shorts and Reels work well at 9:16 or pick one that suits your page layout with an article or post on your website.
Watch back the final video briefly to make sure the text and products are in frame, and the intro is grabby; export, and post.
Conclusion
You don’t need to become a video editor to make a good product video.
Start with your best unboxing moments, delete unnecessary parts, and let AI generate the structure, add captions, and pace the video. You can also use tools such as Designkit to get from your footage not only polished videos but also adapt them to proven formats.


