
Edit Photos and Create Virtual Models with AI
Creating professional product photos used to cost thousands of dollars. You had to hire models, book a studio, and pay a photographer for a full day of work. Now, you can achieve the same results from your desk using smart software. This process saves you time and money while giving you total control over how your brand looks.
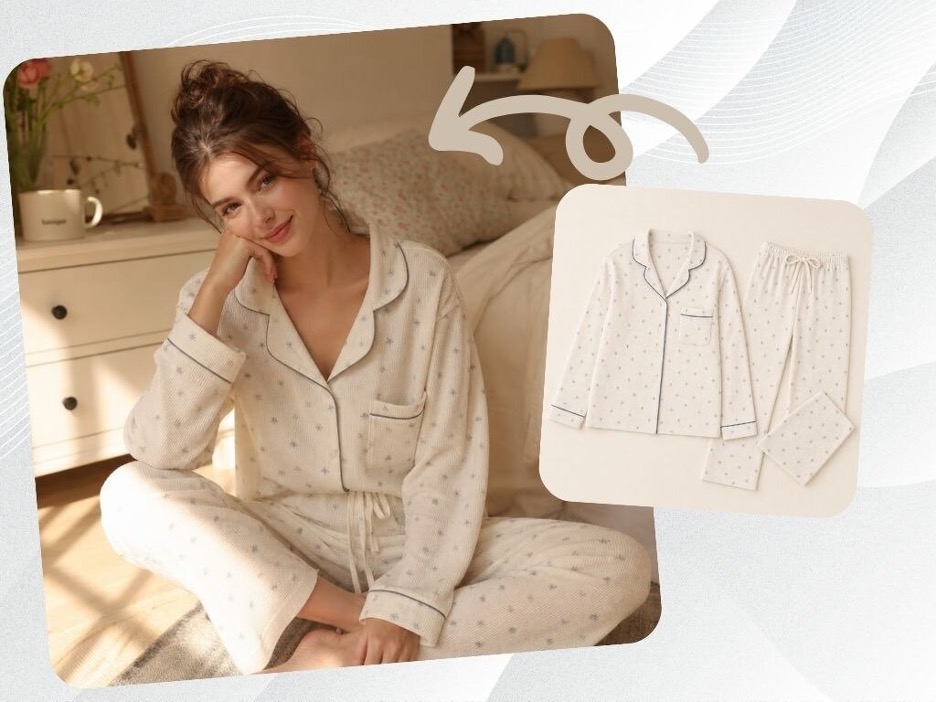
You can start by using a Free Virtual Model Generator Online to build the perfect face for your brand. This tool lets you select specific traits like age and ethnicity so your marketing speaks directly to your customers. You do not need to worry about scheduling or travel costs when your model is created digitally.
Once you have your model, you will need to refine the image to make it look realistic. An AI photo editor allows you to fix small details and blend your product perfectly onto the virtual person. These tools use smart algorithms to understand depth and texture, which helps the final image look like a real photograph.
Step by Step Guide to AI Model Integration
The process of combining these two technologies is straightforward if you follow a logical path. You want to move from the broad concept to the fine details.
Step 1: Define Your Visual Style
Before you open any software, decide what you want your final image to say. Think about your target audience and what kind of person they relate to. You should consider the background, the lighting style, and the overall mood. Having a clear plan prevents you from wasting time on iterations that do not fit your brand identity.
Step 2: Generate Your Virtual Model
Open your model generation tool and input your requirements. You can usually choose the pose of the model to match the product you are selling. For example, if you are selling a backpack, you need a model shown from the back or side. If you are selling jewelry, a close up of the face or hands is better. Generate several options so you have a variety to choose from during the editing phase.
Step 3: Capture Your Product Image
You still need a high quality photo of the physical item you want to sell. Place your product on a flat surface or a mannequin. Use bright, even lighting to avoid harsh shadows that are hard to remove later. Take the photo from the same angle as your virtual model. If the angles do not match, the final result will look distorted and fake to your customers.
Step 4: Remove the Background
Use a background removal tool to isolate your product. You want a clean cutout of the item with no leftover bits of the original background. This makes it much easier to place the item onto your virtual model. Most modern editors can do this automatically with high precision.
Step 5: Combine the Layers
Bring both the virtual model and the product cutout into your editing software. Place the product over the model and resize it to fit. You might need to warp or stretch certain parts of the product image to make it wrap naturally around the body of the model. This is the most important part of the process for maintaining realism.
Step 6: Adjust Lighting and Shadows
Digital images often look fake because the shadows do not match. Look at where the light is coming from on your virtual model. Add small shadows to your product image in the same direction. You should also adjust the brightness and contrast of the product to match the model. If the model is in a sunny park but the product looks like it was shot in a dark room, the image will not work.
Step 7: Final Color Grading
Apply a consistent color filter or grade to the entire image. This binds the model and the product together visually. It makes the two separate elements look like they were captured by the same camera lens at the exact same time.
Tips and Best Practices
To get the best results, you should treat your AI tools like a professional camera. Just because the software is powerful does not mean you can skip the basics of good photography.
Focus on Resolution
Always work with the highest resolution images possible. If your virtual model is blurry but your product is sharp, the contrast will be obvious. High resolution allows you to crop the image for different social media platforms without losing quality.
Match the Grain
Digital photos often have a tiny bit of noise or grain. When you combine two different images, one might be smoother than the other. Adding a very light layer of digital noise to the final composite can help hide the fact that the image was made from two different sources.
Keep It Simple
Do not try to add too many elements at once. Start with a simple model and one product. As you get better at using the tools, you can start adding complex backgrounds or multiple items.
Use Realistic Proportions
It is easy to make a product look too big or too small when placing it on a digital model. Compare your work to real life photos to ensure the scale is correct. If a watch looks as big as a person’s hand, your customers will notice immediately.
Comparison of Methods
| Item | Traditional Photoshoot | AI Generation Method |
| Total Cost | Thousands of dollars | Very low or free |
| Turnaround Time | Weeks | Minutes |
| Flexibility | Limited to the day of shoot | Unlimited changes |
| Model Variety | Depends on agency talent | Infinite options |
| Equipment Needed | Cameras, lights, studio | Computer and internet |
Common Mistakes to Avoid
Even with the best tools, it is easy to make mistakes that ruin the illusion of a real photo.
Ignoring the Contact Points
The place where the product touches the model is where most people fail. If a shirt collar does not touch the neck properly, it looks like it is floating. Spend extra time making sure the edges of your product blend into the model’s skin or hair.
Over Editing
It is tempting to use every filter and tool available. However, over editing can make the skin look like plastic and the colors look neon. Aim for a natural look that highlights the product rather than the software’s capabilities.
Inconsistent Lighting Angles
If the light on the model’s face comes from the left, but the light on the product comes from the right, the human brain will instantly know something is wrong. Always check your light sources before finalizing the image.
Using Low Quality Cutouts
If your product image has jagged edges from a poor background removal, the whole project will look amateur. Use a high quality tool to ensure the edges are smooth and clean.
Ignoring Brand Consistency
You might be excited to try different models, but you should stay consistent. If your brand is for outdoor gear, do not use models that look like they belong in a high fashion runway show. Stick to a style that your customers expect from you.
Conclusion
Combining AI photo editing with virtual model generation is a powerful way to scale your business. It removes the traditional barriers to high quality marketing and lets you experiment with different looks instantly. By following a clear workflow and paying attention to details like lighting and scale, you can create images that are indistinguishable from professional photography.
Start by generating a model that fits your brand and then use editing tools to blend your products seamlessly. With practice, you will be able to produce an entire season of marketing materials in a single afternoon. This technology is not just about saving money; it is about giving you the creative freedom to show your products in the best possible light.
